
If you have a sweet tooth and a love for simple, luscious desserts, this Easy Chocolate Crepes Recipe is about to become your new favorite go-to treat. These delicate, thin pancakes carry the rich essence of cocoa in every bite while remaining light and airy, making them perfect for breakfast, brunch, or even a fun dessert. The recipe is straightforward enough for beginners but delightful enough to impress guests, with a silky batter that transforms quickly into beautiful chocolate crepes ready to be adorned with anything from fresh berries to creamy Nutella. Trust me, once you master this Easy Chocolate Crepes Recipe, your kitchen will be filled with the warm, irresistible aroma of cocoa and vanilla, inviting smiles all around.
Ingredients You’ll Need
The beauty of this recipe lies in its simplicity. Each ingredient plays a crucial role in achieving the perfect texture and flavor balance, creating crepes that are tender yet sturdy enough to hold your favorite fillings perfectly.
- 2 cups milk (2% recommended): Adds creaminess and moisture, helping the batter flow smoothly.
- 4 large eggs: Essential for binding the ingredients and providing structure.
- 3 Tablespoons unsalted butter, melted: Gives richness and prevents sticking while cooking.
- 3 Tablespoons granulated sugar: Adds a subtle sweetness to complement the cocoa flavor.
- 1 teaspoon vanilla extract: Infuses a lovely aroma that enhances the chocolate notes.
- ½ teaspoon Kosher salt: Balances sweetness and heightens flavor complexity.
- 1 ½ cups all-purpose flour (sifted if preferred): Creates the delicate, elastic texture essential to crepes.
- ¼ cup unsweetened cocoa powder: Brings that signature chocolate richness and deep color.
How to Make Easy Chocolate Crepes Recipe
Step 1: Whisk the Wet Ingredients
Start by combining the eggs, milk, melted butter, sugar, vanilla extract, and salt in a medium bowl. Whisk these together until the mixture is smooth and slightly frothy. This blend forms the creamy base that keeps your crepes tender and full of flavor.
Step 2: Incorporate the Dry Ingredients
Next, gradually sift in the flour and cocoa powder while whisking continuously. This ensures there are no lumps hiding in your batter and that the chocolatey goodness is evenly distributed. Let the batter rest for about 15 minutes at room temperature—this little pause makes a big difference, allowing the flour to hydrate fully for silky-smooth crepes.
Step 3: Heat Your Pan
Preheat a nonstick skillet or crepe pan over medium heat, greasing it lightly with butter or oil. The right temperature is key here—too hot and the crepes burn, too cool and they won’t set properly. A perfectly heated pan helps achieve those signature delicate edges.
Step 4: Pour and Spread the Batter
Pour roughly ¼ cup of batter into the pan at the center, then immediately swirl the pan to spread the batter evenly into a thin, round layer. The thinner the batter spreads, the more delicate your crepes become—just like the pros make!
Step 5: Cook and Flip
Let the crepe cook for 1 to 2 minutes until the edges lift slightly and the bottom looks set. Then, gently flip with a spatula and cook on the other side for another 30 seconds to a minute. This quick flip locks in the moisture but ensures a light, tender texture with a slight chew.
Step 6: Repeat and Stack
Remove the cooked crepe to a warm plate and repeat the process with the remaining batter. Stacking them as you go helps keep the crepes warm and soft, ready to be loaded with your favorite toppings.
Step 7: Serve and Enjoy!
Serve your crepes warm, letting the chocolate flavor shine. From classic whipped cream to fresh fruit, the serving options are endless and heavenly.
How to Serve Easy Chocolate Crepes Recipe
Garnishes
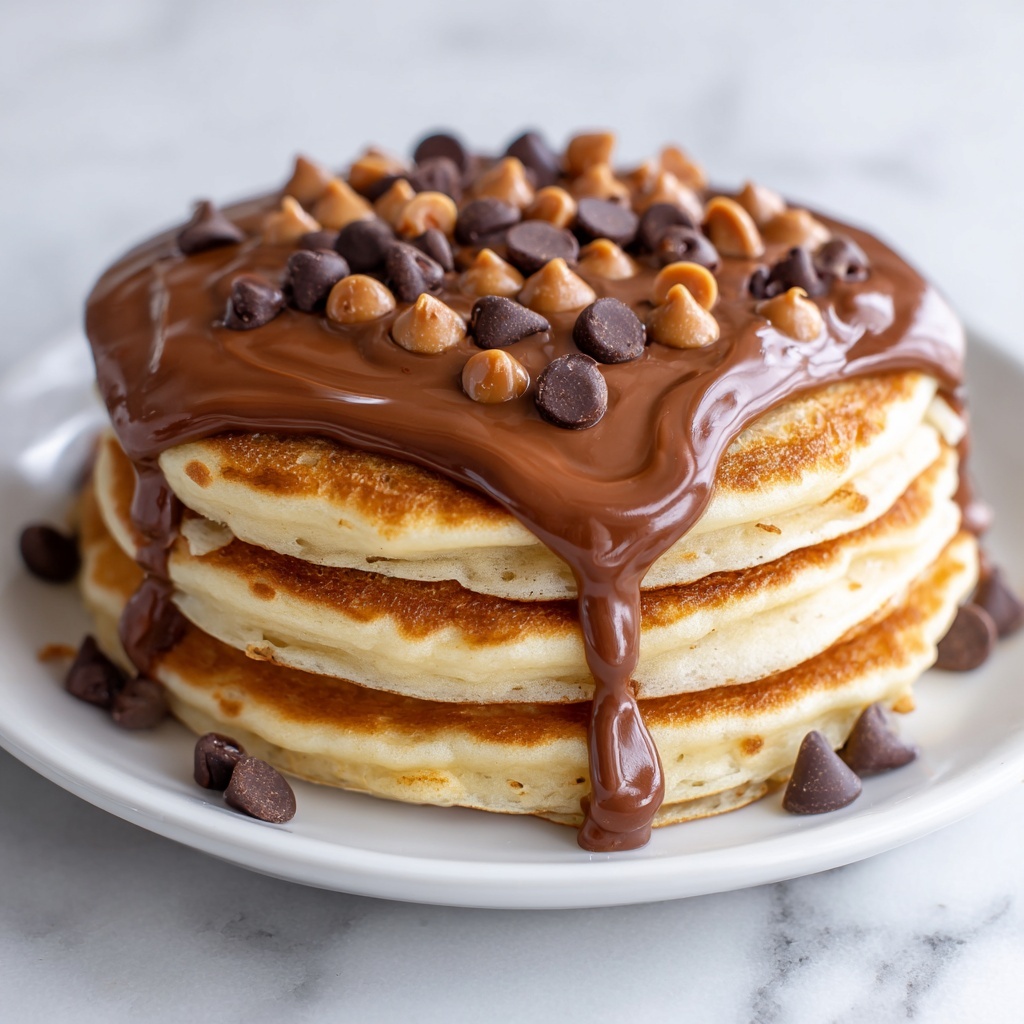
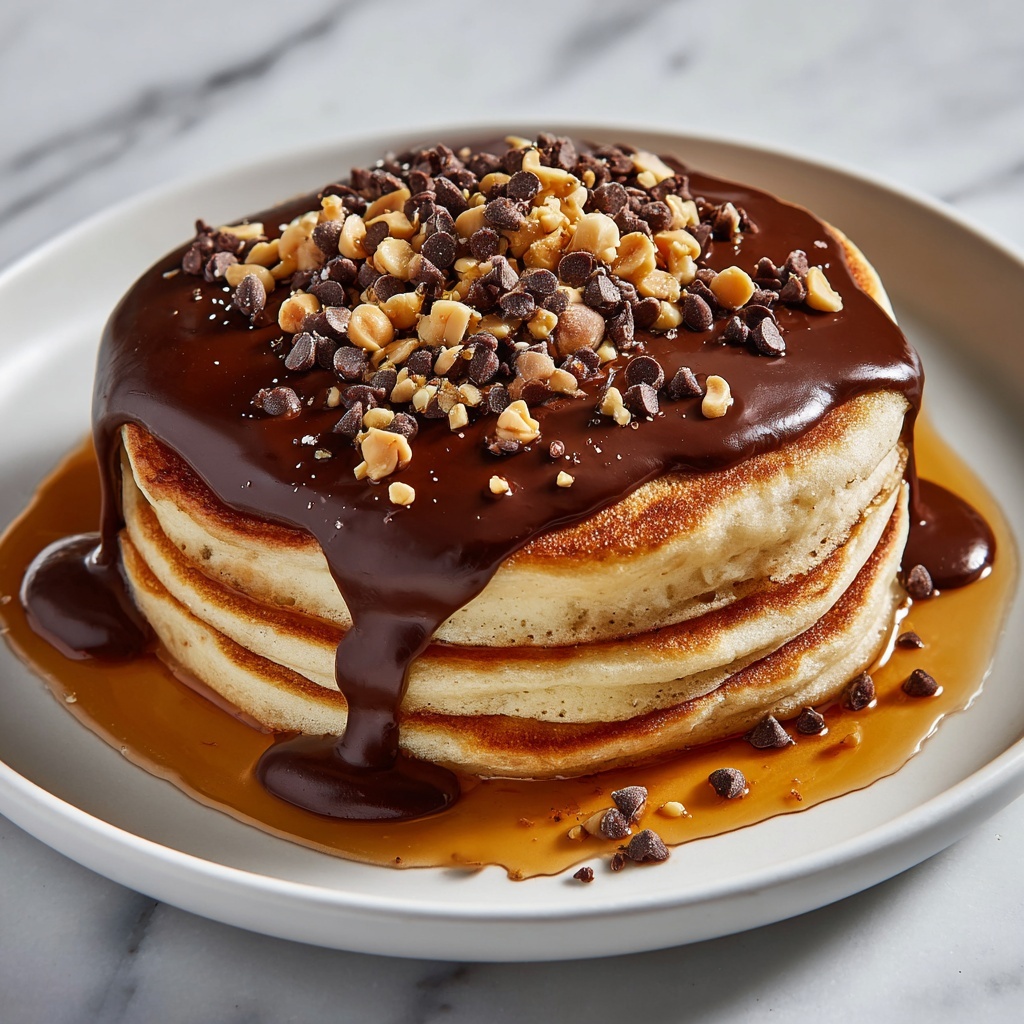
The garnishes can turn your simple crepes into a luxurious meal or snack. Try dollops of whipped cream for cloud-like softness, swirls of Nutella for a gooey, hazelnut kick, or scatter fresh berries to add bursts of tartness and vibrant color. A sprinkle of chopped nuts offers a lovely crunch to contrast the silky texture.
Side Dishes
Pairing these crepes with simple sides can elevate your experience. Fresh fruit salad complements the chocolate perfectly while adding freshness. A scoop of vanilla ice cream on the side during warmer months turns this into an irresistible dessert. For a more wholesome twist, a small bowl of Greek yogurt adds a tangy counterpoint and extra protein.
Creative Ways to Present
Try folding your crepes into triangles and stacking them in layers with alternating fillings for a stunning crepe cake. You can also roll them tight with sliced bananas and Nutella inside, slicing them into bite-sized pinwheels for delightful party treats. The elegant swirl pattern you get from the batter makes for a beautiful canvas that you can dust with powdered sugar or drizzle with chocolate sauce.
Make Ahead and Storage
Storing Leftovers
If you’re lucky enough to have leftovers, store your crepes in an airtight container in the refrigerator for up to two days. Place sheets of parchment paper between crepes to prevent them from sticking together.
Freezing
You can freeze these crepes for up to two months. Stack them with parchment paper between layers and wrap tightly in plastic wrap or foil. When ready to eat, thaw in the fridge overnight for the best texture.
Reheating
Reheat crepes gently in a nonstick skillet over low heat for about 20-30 seconds per side or microwave on a plate covered with a damp paper towel for 20-30 seconds. Avoid overheating to keep them soft and flavorful.
FAQs
Can I use a different type of milk?
Absolutely! While 2% milk offers a great balance of creaminess without being too heavy, you can substitute with whole milk, almond milk, or oat milk depending on your preferences. Just expect slight variations in texture.
Is it necessary to rest the batter?
Yes! Resting allows the flour to fully absorb the liquid, which improves the batter’s consistency and helps the crepes cook more evenly and remain tender.
Can I make these crepes without cocoa powder?
Definitely. Removing the cocoa powder will give you classic crepes instead of chocolate ones. You can follow the same steps and enjoy a versatile base for sweet or savory fillings.
What if my crepes stick to the pan?
Make sure your pan is properly greased and preheated to medium heat. Also, using a good nonstick pan or a well-seasoned crepe pan can make a big difference. Adding a small amount of butter between crepes helps too.
How thin should the crepes be?
Crepes are traditionally very thin, just enough to cover the pan in a smooth, slightly translucent layer. Spreading the batter quickly and evenly by swirling the pan helps achieve this perfect thinness.
Final Thoughts
This Easy Chocolate Crepes Recipe is such a joy to make and share, whether you’re treating yourself on a quiet morning or impressing friends and family with a decadent brunch. The combination of tender chocolate crepes and your favorite toppings makes every bite an experience worth savoring. So don’t hesitate—grab your ingredients, warm up your skillet, and dive into this wonderfully simple chocolatey delight today!
Print
Easy Chocolate Crepes Recipe
- Prep Time: 10 minutes
- Cook Time: 10 minutes
- Total Time: 20 minutes
- Yield: 10 servings
- Category: Breakfast
- Method: Stovetop
- Cuisine: French
Description
These Easy Chocolate Crepes are thin, delicate pancakes infused with rich cocoa flavor, perfect for a decadent breakfast or dessert. Made with simple pantry ingredients and cooked quickly on the stovetop, these crepes can be enjoyed with a variety of toppings like whipped cream, Nutella, fresh berries, or bananas for a customizable treat.
Ingredients
Crepe Batter
- 2 cups milk (2%)
- 4 large eggs
- 3 Tablespoons unsalted butter, melted
- 3 Tablespoons granulated sugar
- 1 teaspoon vanilla extract
- ½ teaspoon Kosher salt
- 1 ½ cups all-purpose flour (sifted, if desired)
- ¼ cup unsweetened cocoa powder
Optional Toppings
- Whipped cream
- Nutella
- Jam
- Fresh berries
- Bananas
- Nuts
Instructions
- Mix Wet Ingredients: In a medium bowl, whisk together the eggs, milk, melted butter, sugar, vanilla extract, and salt until fully combined and smooth.
- Add Dry Ingredients: Gradually sift and add the flour and cocoa powder to the wet mixture, whisking continuously to avoid lumps. Continue whisking until the batter is smooth. Let the batter rest for 15 minutes to allow flour to hydrate and improve texture.
- Heat Pan: Preheat a nonstick skillet or crepe pan over medium heat. Lightly grease the pan with a small amount of butter or oil to prevent sticking.
- Cook Crepes: Pour about ¼ cup of the batter into the heated pan. Immediately swirl the pan to spread the batter evenly into a thin layer covering the surface.
- First Side Cooking: Cook for 1 to 2 minutes, until the edges begin to lift and the bottom is set and lightly browned.
- Flip Crepe: Carefully flip the crepe using a spatula and cook the other side for an additional 30 seconds to 1 minute until fully cooked.
- Repeat: Remove the crepe from the pan and repeat the process with the remaining batter, lightly greasing the pan between crepes if needed.
- Serve: Serve the chocolate crepes warm topped with your choice of whipped cream, Nutella, jam, fresh berries, sliced bananas, or nuts.
Notes
- Resting the batter allows the flour to fully absorb the liquid, resulting in more tender crepes.
- Use a nonstick pan or well-seasoned crepe pan to ensure easy flipping and removal.
- Adjust the heat if crepes brown too quickly or cook unevenly.
- Crepes are best served fresh but can be stored in the refrigerator for up to 2 days, separated by parchment paper.
- Reheat gently in a skillet or microwave before serving.


