
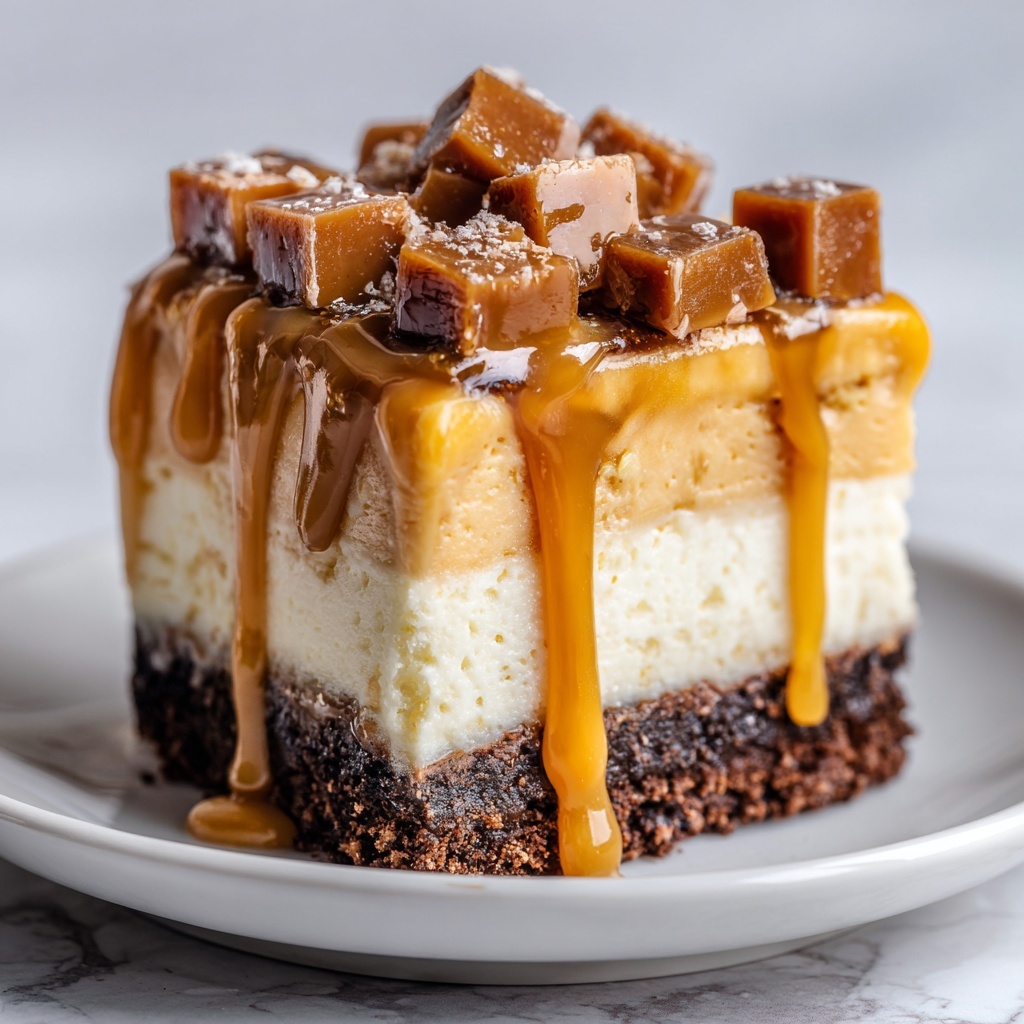
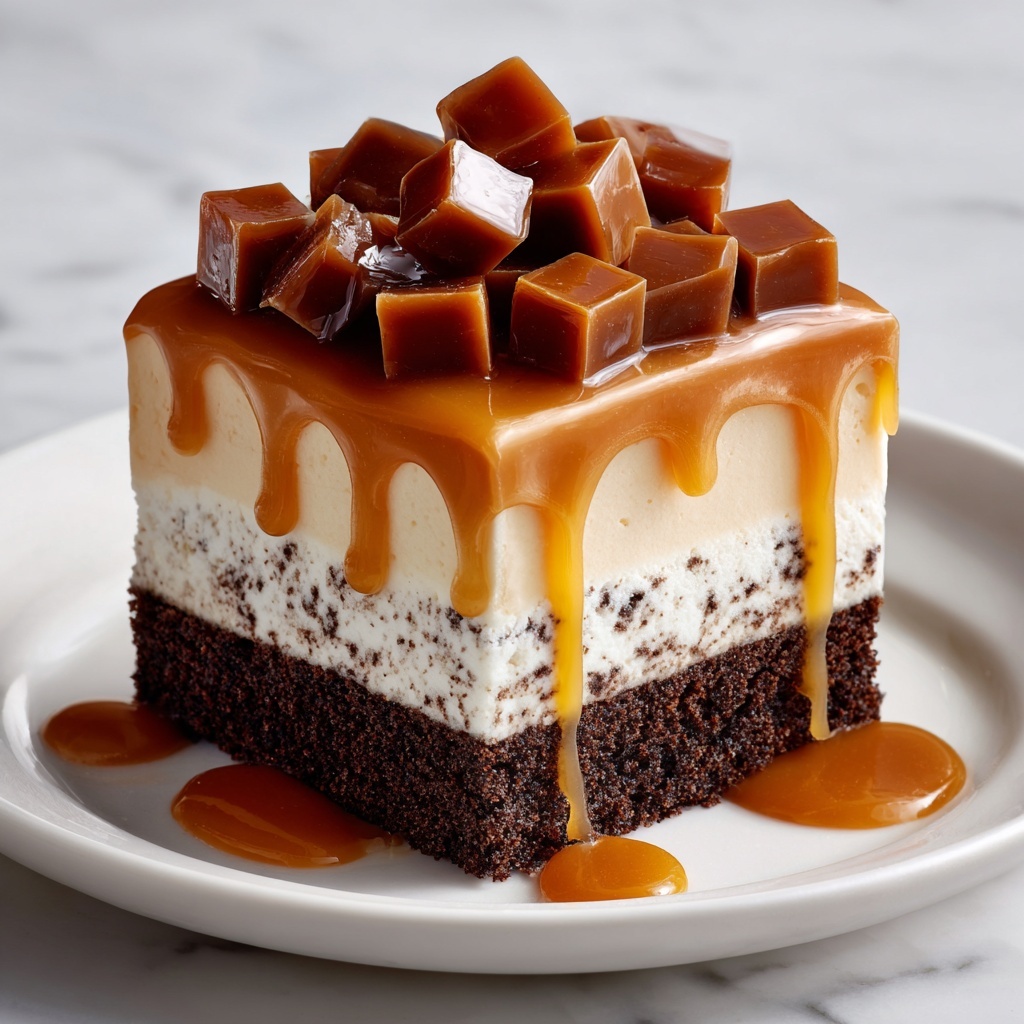
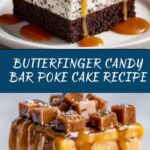
There is nothing quite as comforting and indulgent as this Butterfinger Candy Bar Poke Cake Recipe, a dessert that combines the rich, fudgy goodness of chocolate cake with the irresistible crunch and flavor of Butterfinger candy bars. This cake is soaked with a luscious mixture of caramel and sweetened condensed milk that seeps into every nook and cranny, creating a moist, melt-in-your-mouth experience. Topped with fluffy whipped topping and a generous sprinkle of crushed Butterfingers, this cake is a showstopper for any gathering or family dessert night. If you love combining nostalgic candy with classic cakes, this poke cake will quickly become your new favorite treat to bake and share.
Ingredients You’ll Need
This Butterfinger Candy Bar Poke Cake Recipe is delightfully straightforward, using pantry staples that each play a key role in creating texture, sweetness, and that divine, layered flavor you’ll adore. From the chocolatey cake base to the creamy caramel drizzle and crispy Butterfinger topping, every component enhances the cake’s irresistible appeal.
- Chocolate cake mix: The foundation of the cake, providing a rich and moist chocolate flavor with minimal effort.
- Eggs, oil, and water: Essential for making the cake batter tender and fluffy as per box instructions.
- Sweetened condensed milk: Adds creamy sweetness and seeps into the cake for luscious moisture.
- Caramel sauce: Gives a luscious, buttery richness that perfectly complements the chocolate and candy flavors.
- Whipped topping (like Cool Whip): Light and airy, this smooth layer balances the dense cake and gooey caramel.
- Butterfinger candy bars: Crushed and sprinkled on top, they add a crispy, peanut-buttery crunch that makes the cake unforgettable.
How to Make Butterfinger Candy Bar Poke Cake Recipe
Step 1: Bake the Cake
Start by preparing your chocolate cake mix according to the package instructions, combining eggs, oil, and water as directed. Pour the batter into a 9×13-inch baking dish and bake it until a toothpick inserted in the center comes out clean. Once out of the oven, allow the cake to rest for about 10 minutes so it’s not too hot to handle.
Step 2: Poke the Cake
Using the handle of a wooden spoon, gently poke holes all over the cake’s surface. These holes are crucial because they will allow your caramel and condensed milk mixture to sink deep into the cake, infusing every bite with sweet, gooey goodness.
Step 3: Add Caramel and Condensed Milk
In a small bowl, stir together the sweetened condensed milk and caramel sauce until smooth. Pour this beautiful mixture evenly over the cake, making sure to cover the entire surface and fill each hole. This step is what transforms the cake into an indulgent dessert masterpiece. Let the cake cool completely after pouring.
Step 4: Top with Whipped Topping
After the cake has cooled, spread an even layer of thawed whipped topping over the surface. This fluffy layer provides a light, cool contrast to the rich caramel-soaked cake beneath.
Step 5: Add Crushed Butterfinger
Finally, generously sprinkle the crushed Butterfinger candy bars over the whipped topping. These crunchy bits add that unmistakable peanut buttery crunch, making every forkful an absolute delight.
Step 6: Chill and Serve
Place your assembled Butterfinger Candy Bar Poke Cake Recipe in the refrigerator for at least one hour. Chilling helps the flavors meld beautifully and allows the cake to set perfectly for that luscious texture you crave.
How to Serve Butterfinger Candy Bar Poke Cake Recipe
Garnishes
For an extra touch of elegance and flavor, consider garnishing your poke cake with a drizzle of warm caramel sauce or a few additional crushed Butterfinger pieces just before serving. A light dusting of cocoa powder or shaved chocolate curls can also add visual interest and a hint of extra chocolatey goodness.
Side Dishes
This cake pairs wonderfully with a simple scoop of vanilla ice cream or a dollop of freshly whipped cream to enhance its rich textures. Fresh berries can offer a bright, slightly tart contrast that balances the sweetness, while a cup of hot coffee or milk rounds out the perfect indulgent dessert experience.
Creative Ways to Present
For a party, serve this poke cake in individual clear cups or mason jars to showcase the lovely layers. Alternatively, cut into neat squares and arrange on a dessert platter with little forks for easy sharing. You can also add themed decorations like mini candy bars or edible gold dust to match celebrations and wow your guests.
Make Ahead and Storage
Storing Leftovers
Store any leftover Butterfinger Candy Bar Poke Cake Recipe covered in the refrigerator to keep it fresh and moist. It will stay delicious for up to 4 days and remains a perfect treat to enjoy even after the initial serving.
Freezing
If you want to prepare this cake ahead of time or save leftovers longer, wrap the cake tightly with plastic wrap and then aluminum foil before freezing. It can be frozen for up to 2 months. Thaw the cake overnight in the refrigerator before serving to best preserve its texture and flavor.
Reheating
This cake is best enjoyed chilled, so reheating is not generally recommended. However, if you prefer your cake at room temperature, simply let it sit out of the fridge for about 30 minutes before serving to soften the whipped topping slightly.
FAQs
Can I use a homemade chocolate cake instead of a mix?
Absolutely! Feel free to substitute your favorite homemade chocolate cake recipe. Just be sure it’s moist and sturdy enough to hold up to the poke and filling process.
What if I don’t have Butterfinger candy bars? Can I use something else?
While Butterfinger is ideal for that signature crunch and flavor, you could try using chopped Heath bars, peanut butter cups, or even toffee bits for a similar texture and sweetness.
Do I have to use caramel sauce, or can I try another filling?
The caramel and sweetened condensed milk combo is what makes this poke cake so special, but you could experiment with dulce de leche or a peanut butter sauce for a fun twist!
Is this recipe gluten-free?
The traditional cake mix contains gluten, so for a gluten-free version, choose a gluten-free chocolate cake mix and double-check all other ingredients to ensure they meet your dietary needs.
Can I make this cake vegan?
Making this exact Butterfinger Candy Bar Poke Cake Recipe vegan is tricky because of the candy bars, whipped topping, and condensed milk. However, you could use vegan substitutes for the cake, coconut whipped cream, and dairy-free caramel sauce, plus vegan-friendly candy options, for a similar effect.
Final Thoughts
This Butterfinger Candy Bar Poke Cake Recipe is a true crowd-pleaser that combines simple ingredients with extraordinary flavor and texture. Whether you’re baking for a special occasion or just craving a decadent treat, this cake delivers comforting nostalgia and that perfect balance of rich, sweet, and crunchy in every bite. I can’t wait for you to make it and share the joy it brings with your family and friends!
Print
Butterfinger Candy Bar Poke Cake Recipe
- Prep Time: 15 minutes
- Cook Time: 30 minutes
- Total Time: 1 hour 45 minutes
- Yield: 12 servings
- Category: Dessert
- Method: Baking
- Cuisine: American
Description
This Butterfinger Candy Bar Poke Cake is a decadent and irresistible dessert featuring moist chocolate cake filled with a luscious mixture of caramel sauce and sweetened condensed milk. Topped with fluffy whipped topping and crunchy crushed Butterfinger candy bars, it offers a perfect balance of creamy, sweet, and crunchy textures. Ideal for celebrations or any special occasion, this cake is simple to make yet delivers impressive flavor and visual appeal.
Ingredients
Chocolate Cake
- 1 box chocolate cake mix (plus ingredients listed on the box: eggs, oil, and water)
Filling
- 1 can (14 oz) sweetened condensed milk
- 1 jar (12 oz) caramel sauce
Topping
- 1 container (8 oz) whipped topping (like Cool Whip), thawed
- 4–5 Butterfinger candy bars, crushed
Instructions
- Bake the cake: Prepare the chocolate cake according to the package directions and bake it in a 9×13-inch baking dish. After baking, let the cake cool for about 10 minutes to allow it to set slightly and be ready for the next steps.
- Poke the cake: Using the handle of a wooden spoon, poke holes all over the surface of the warm cake. Ensure the holes are large enough to allow the filling to seep into the cake layers for maximum flavor infusion.
- Add caramel and condensed milk: In a small bowl, combine the sweetened condensed milk with the caramel sauce. Pour this mixture evenly over the cake, making sure it fills the poked holes to add moisture and sweetness throughout the cake. Allow the cake to cool completely to room temperature.
- Top with whipped topping: Once the cake has cooled completely, spread the thawed whipped topping evenly over the surface, creating a light and creamy topping layer.
- Add crushed Butterfinger: Crush the Butterfinger candy bars into small pieces and sprinkle them generously over the whipped topping, adding a delightful crunch and peanut buttery flavor.
- Chill and serve: Refrigerate the completed cake for at least 1 hour to allow the flavors to meld and the cake to set perfectly before slicing and serving.
Notes
- Allow the cake to cool completely before adding whipped topping to prevent it from melting.
- Use the handle of a wooden spoon or similar tool to poke holes; a fork can also work but may create smaller holes.
- Feel free to substitute the caramel sauce with homemade caramel for a richer taste.
- Store the cake covered in the refrigerator and consume within 3-4 days for optimal freshness.
- Crushing the Butterfinger bars finely helps distribute the candy evenly and prevents large chunks from overpowering each bite.