
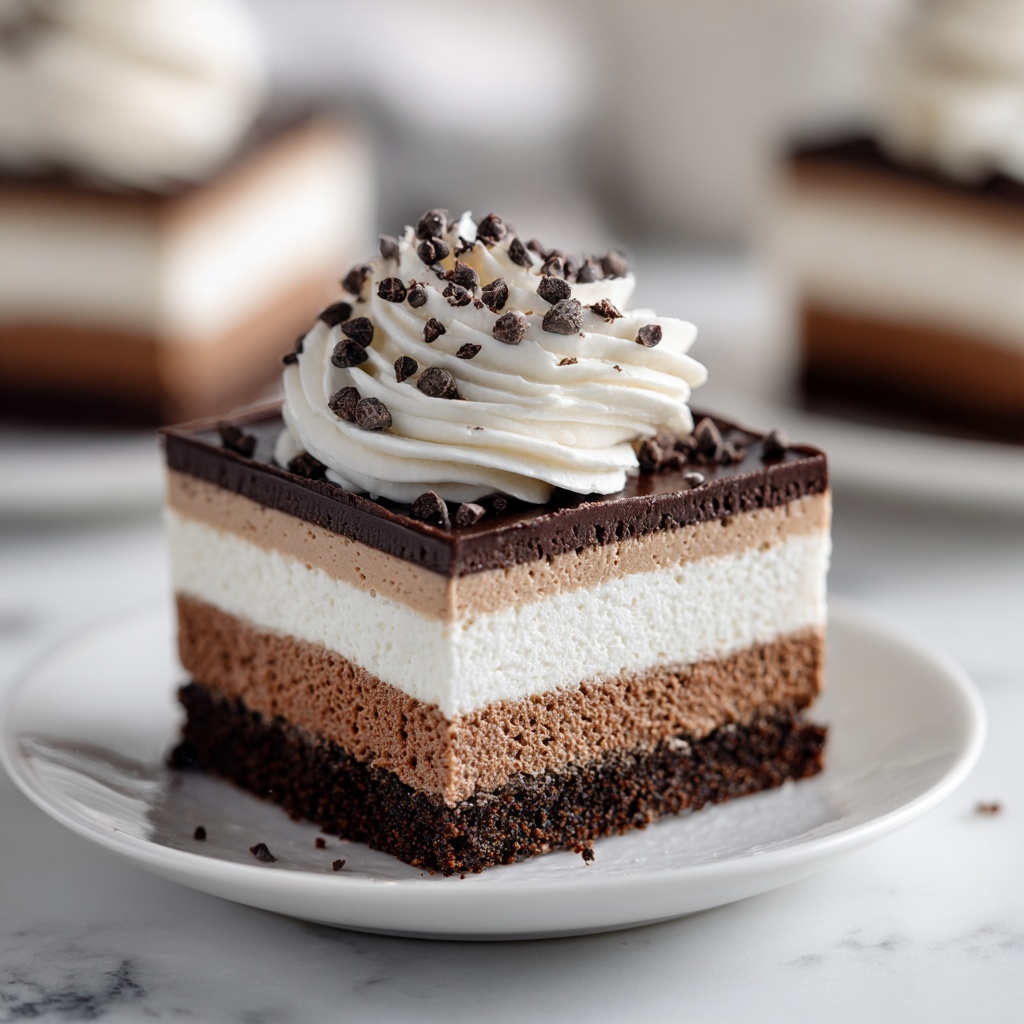
If you are a chocolate lover searching for a luscious treat that is both easy to make and irresistibly creamy, then this No-Bake Chocolate Mousse Bars Recipe is about to become your new favorite. With a crisp crumbly crust and a silky, rich mousse topping, these bars offer a perfect balance of texture and intense chocolate flavor. Best of all, no oven is needed, making this dessert a breeze to prepare for any occasion. Whether you’re craving a quick indulgence or impressing guests with a fancy yet simple delight, these bars have got you covered.
Ingredients You’ll Need
This No-Bake Chocolate Mousse Bars Recipe is wonderfully straightforward, relying on a handful of essential ingredients that each play a crucial role in delivering the ultimate dessert experience. From the crunchy crust to the fluffy and rich chocolate mousse, these components work harmoniously to create texture, flavor depth, and visual appeal.
- Graham cracker crumbs: Provide the perfect crunchy base with a hint of sweetness and a classic flavor contrast to the chocolate.
- Granulated sugar: Adds just enough sweetness to balance the slightly bitter notes of the chocolate.
- Unsalted butter, melted: Binds the crumbs together and adds a rich, buttery flavor to the crust.
- Heavy cream: Whipped to airy perfection for a light yet creamy mousse texture.
- Semi-sweet chocolate, chopped or chips: The star ingredient that delivers deep chocolate flavor and smoothness.
- Powdered sugar: Sweetens the mousse gently while helping with its silky mouthfeel.
- Vanilla extract: Enhances the flavors with a subtle warmth and complexity.
- Milk: Adds creaminess and helps create a smooth mousse; you can adjust the amount for your preferred texture.
- Gelatin (optional): Gives extra firmness to the mousse if you want a more sliceable bar.
- Whipped cream (for garnish): Adds an elegant finish and extra creaminess when serving.
- Shaved chocolate or chocolate chips (optional garnish): Provides a lovely visual touch and a little extra chocolate crunch.
How to Make No-Bake Chocolate Mousse Bars Recipe
Step 1: Prepare the Crust
Start by combining the graham cracker crumbs and granulated sugar in a bowl. Pour in the melted unsalted butter and mix until the crumbs are evenly coated and hold together when pressed. Press this mixture firmly into the bottom of a lined square pan, creating an even layer. This crust forms the crunchy foundation that contrasts perfectly with the airy mousse topping.
Step 2: Melt the Chocolate
In a heatproof bowl over simmering water or in short bursts in the microwave, carefully melt the semi-sweet chocolate until it’s smooth and glossy. Set it aside to cool slightly but make sure it remains pourable. This warm chocolate will be folded into the cream mixture next.
Step 3: Whip the Cream
Using an electric mixer or a sturdy whisk, whip the heavy cream together with powdered sugar and vanilla extract until soft peaks form. If you are using gelatin, dissolve it in warm milk and gently fold this into the whipped cream. This step is crucial in creating that classic mousse lightness and structure for the bars.
Step 4: Combine Chocolate and Cream
Slowly pour the melted chocolate into the whipped cream mixture while folding gently to keep as much air as possible. Add more milk here if you prefer a slightly creamier texture. The goal is a fluffy, luscious chocolate mousse that’s thick enough to hold its shape but soft and melt-in-your-mouth delicious.
Step 5: Assemble and Chill
Pour the mousse over the prepared crust and smooth out the top with a spatula. Cover the pan tightly with plastic wrap and refrigerate for at least 4 hours, or until the mousse is fully set. Patience here results in the best texture and flavor harmony in your No-Bake Chocolate Mousse Bars Recipe.
How to Serve No-Bake Chocolate Mousse Bars Recipe

Garnishes
Topping your chocolate mousse bars with a dollop of whipped cream instantly elevates their look and taste by adding creamy richness that complements the mousse. Sprinkle shaved chocolate or a handful of mini chocolate chips on top to give an appealing contrast in texture and a burst of even more chocolatey goodness.
Side Dishes
Though these mousse bars stand alone beautifully, serving them alongside fresh berries like raspberries or strawberries creates a lively, tart contrast that cuts through the richness. A small scoop of vanilla ice cream is another wonderful companion, especially on warmer days when you want a mix of cold creaminess and smooth chocolate flavor.
Creative Ways to Present
Consider serving your No-Bake Chocolate Mousse Bars Recipe in elegant glass jars for a layered dessert effect, or cut them into bite-sized squares for a charming party platter. Drizzling caramel sauce or a raspberry coulis on the plate adds a colorful and decadent presentation touch that delights eyes and taste buds alike.
Make Ahead and Storage
Storing Leftovers
Keep any leftover bars stored in an airtight container in the refrigerator. This helps maintain that perfect mousse texture and keeps the crust crisp for up to 3 days. Just make sure to cover tightly to avoid absorbing any fridge odors.
Freezing
These mousse bars freeze beautifully! Wrap individual bars tightly in plastic wrap and place them in a freezer-safe container. They can be frozen for up to a month. When ready to enjoy, thaw in the fridge overnight to preserve the creamy consistency.
Reheating
Since this No-Bake Chocolate Mousse Bars Recipe is meant to be enjoyed chilled, reheating is not recommended. However, if you’d like the bars a bit softer, simply let them sit at room temperature for 10-15 minutes before serving for a melt-in-your-mouth experience.
FAQs
Can I use a different type of chocolate?
Absolutely! You can substitute semi-sweet chocolate with dark chocolate for a richer taste or milk chocolate if you prefer something sweeter and milder. Just keep in mind that the sweetness level and texture might vary slightly.
Is gelatin necessary in this recipe?
Gelatin is optional and used if you want your bars to have extra firmness, making them easier to slice neatly. Without gelatin, the mousse will be softer but still delicious and creamy.
Can I make these bars vegan?
To make a vegan version, you can substitute butter with a plant-based alternative, use coconut cream instead of heavy cream, and choose dairy-free chocolate. Gelatin can be replaced with agar-agar to achieve a similar setting effect.
How long should I chill the bars?
Chilling the bars for at least 4 hours is important to allow the mousse to set properly and the flavors to meld. Overnight chilling yields the best results for a firm and luscious texture.
Can I double the recipe?
Yes, you can easily double the recipe to serve more people or to have extra treats on hand. Just use a larger pan and adjust chilling time accordingly.
Final Thoughts
I truly hope you give this No-Bake Chocolate Mousse Bars Recipe a try soon because it’s one of those desserts that simply feels like a warm hug in every bite. Easy to make yet stunningly delicious, these bars are perfect for any occasion where chocolate cravings strike. Once you taste that creamy mousse paired with the buttery crust, you might find yourself coming back to this recipe again and again.
Print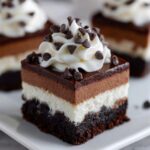
No-Bake Chocolate Mousse Bars Recipe
- Prep Time: 20 minutes
- Cook Time: 0 minutes
- Total Time: 4 hours 20 minutes
- Yield: 12 servings
- Category: Dessert
- Method: No-Cook
- Cuisine: American
Description
These No-Bake Chocolate Mousse Bars are a luscious and creamy dessert that combines a crunchy graham cracker crust with a rich, airy chocolate mousse. Perfect for any occasion, these bars require no baking and come together with simple ingredients for an elegant treat that sets in the refrigerator.
Ingredients
Crust
- 1 1/2 cups graham cracker crumbs (or chocolate wafer crumbs for extra flavor)
- 1/4 cup granulated sugar
- 1/2 cup unsalted butter, melted
Mousse Filling
- 1 1/2 cups heavy cream
- 8 oz semi-sweet chocolate, chopped (or chocolate chips)
- 1/2 cup powdered sugar
- 1 teaspoon vanilla extract
- 1/4 cup milk (or more for a creamier texture)
- 1 tablespoon gelatin (optional, for extra firmness)
Garnish
- 1/2 cup whipped cream
- Shaved chocolate or chocolate chips (optional)
Instructions
- Prepare the crust: In a medium bowl, combine graham cracker crumbs and granulated sugar. Pour in the melted unsalted butter and mix thoroughly until the mixture resembles wet sand. Press this mixture firmly and evenly into the bottom of a lined 9×9 inch baking pan to form the crust. Place it in the refrigerator to chill while preparing the mousse.
- Make the chocolate mousse filling: In a heatproof bowl, melt the semi-sweet chocolate and milk together over a double boiler or in short bursts in the microwave, stirring until smooth. Set aside to cool slightly. If using gelatin, sprinkle it over 2 tablespoons of cold water in a small bowl and let it bloom for 5 minutes, then gently warm it to dissolve fully. Stir the dissolved gelatin into the melted chocolate mixture.
- Whip the cream: In a large bowl, beat the heavy cream with powdered sugar and vanilla extract until soft peaks form. Gradually fold the melted chocolate mixture into the whipped cream gently to maintain the airy texture. Be careful not to deflate the mousse.
- Assemble the bars: Pour the mousse over the chilled crust and smooth the top with a spatula. Cover the pan with plastic wrap and refrigerate for at least 4 hours or until the mousse is set firmly.
- Serve and garnish: Once set, cut the mousse into bars. Top each bar with a dollop of whipped cream and sprinkle with shaved chocolate or chocolate chips for an extra touch of elegance. Serve chilled.
Notes
- For a firmer mousse, gelatin is recommended but can be omitted for a lighter texture.
- Chocolate wafer crumbs in the crust add extra chocolate flavor to the bars.
- Milk quantity can be adjusted to achieve the desired mousse consistency.
- These bars can be stored covered in the refrigerator for up to 3 days.
- To serve thicker bars, use an 8×8 inch pan instead of 9×9.


