
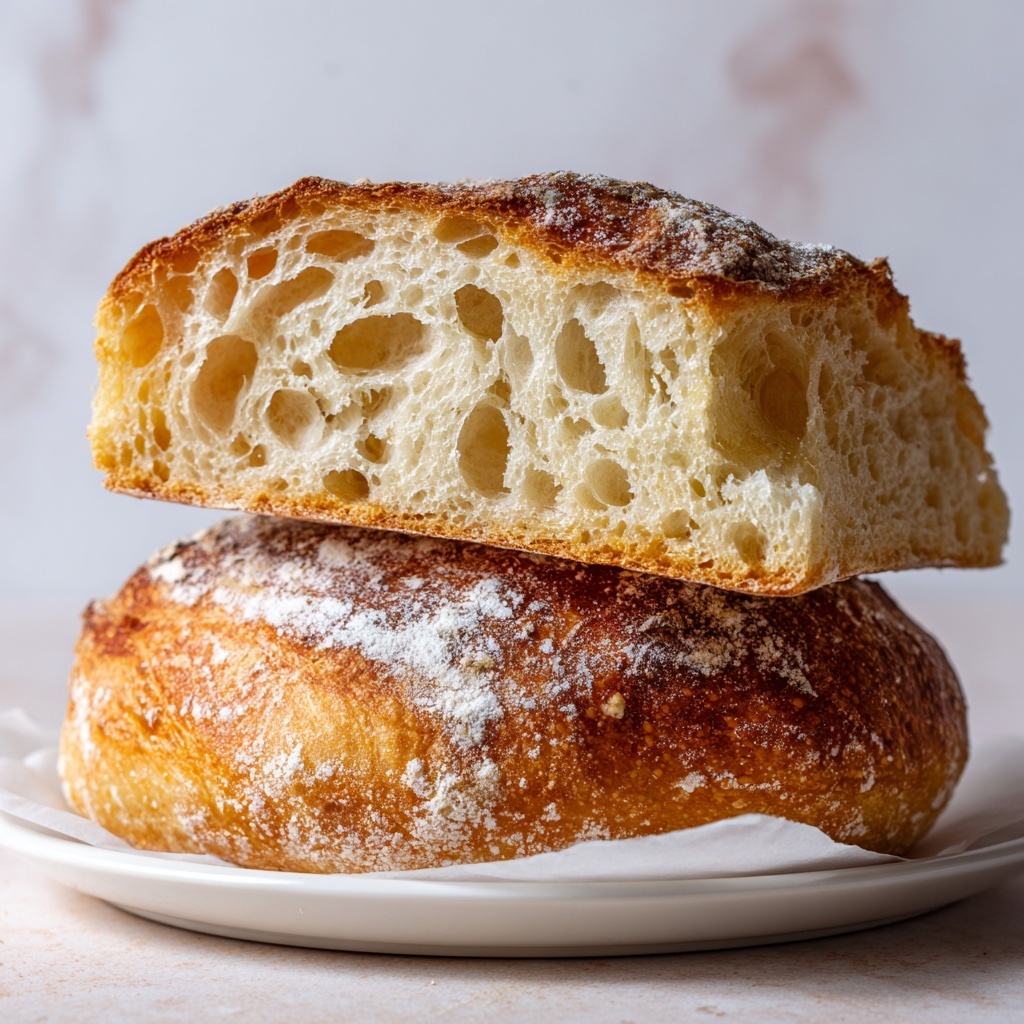
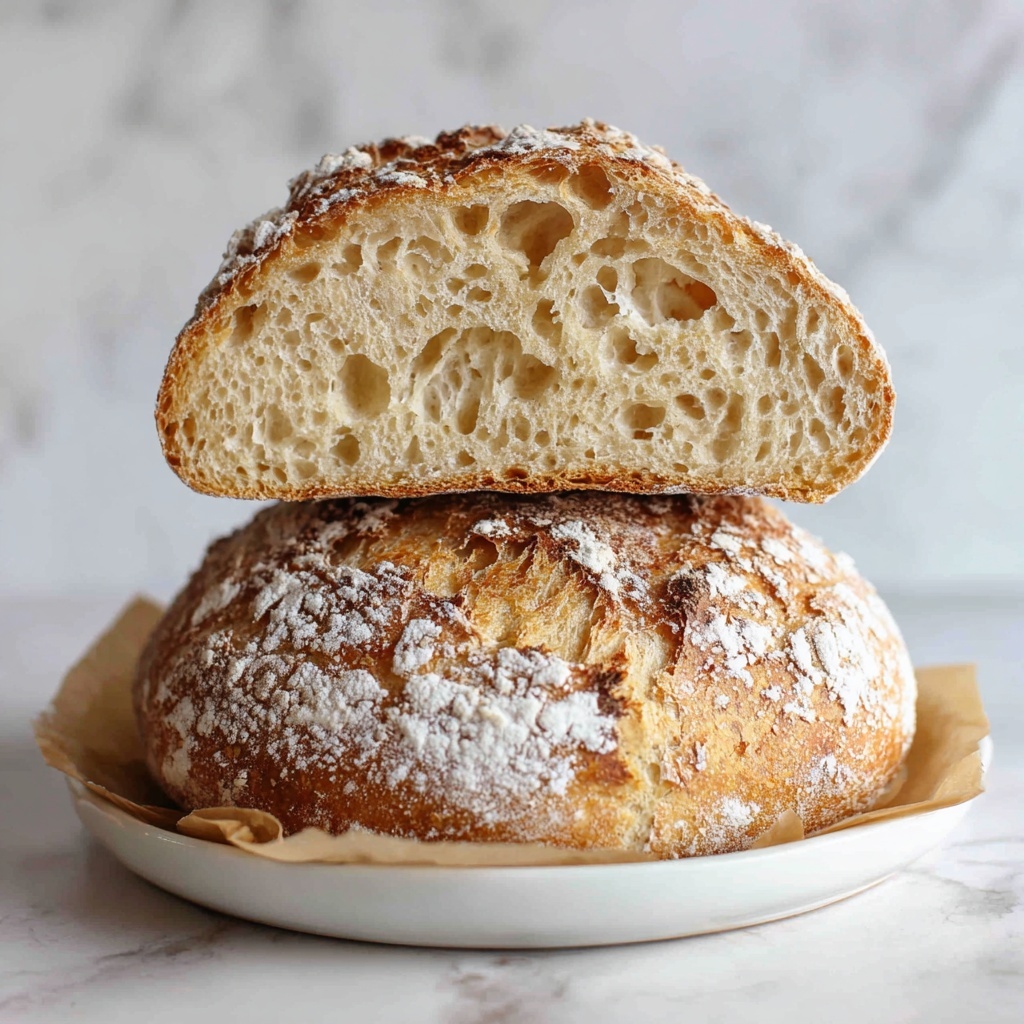
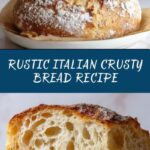
If you’ve ever dreamed of biting into a warm, golden-brown loaf with a perfectly crisp crust and a soft, tender crumb inside, you’re about to fall in love. This Rustic Italian Crusty Bread Recipe is exactly what you need to satisfy that craving. It’s a charmingly simple loaf that fills your home with the heavenly aroma of fresh-baked bread and offers that authentic, artisanal texture reminiscent of a countryside bakery. Whether you’re a seasoned baker or just starting out, this recipe delivers all the rustic charm with ingredients you likely already have, making it impossible not to enjoy.
Ingredients You’ll Need
The beauty of this Rustic Italian Crusty Bread Recipe lies in its simplicity. With just a handful of basic pantry staples working together, you get a loaf that’s golden, crusty, and bursting with flavor. Each ingredient has a special role — from the yeast that gives the bread its airy rise to the olive oil that adds a subtle richness and the sea salt that enhances every bite.
- 4 cups all-purpose flour: Provides structure and body for the bread, creating that chewy yet tender crumb.
- 1 ½ tsp active dry yeast: The magic ingredient that makes the dough rise and become wonderfully airy.
- 1 ½ cups warm water (110°F / 43°C): Activates the yeast and hydrates the flour, critical for a soft interior.
- 2 tsp sea salt: Essential for flavor balance and strengthening the dough’s gluten structure.
- 2 tbsp extra virgin olive oil: Brings a gentle fruity richness and helps keep the crust delightfully crisp.
How to Make Rustic Italian Crusty Bread Recipe
Step 1: Activate the Yeast
Start by mixing the warm water and active dry yeast in a large bowl. The water should be warm to the touch but not hot, around 110°F (43°C) — this warmth wakes up the yeast, allowing it to get frothy and bubbly in about five minutes. That little frothy cap is your green light to move forward.
Step 2: Form the Dough
Next, stir in the flour and sea salt until the mixture pulls together into a shaggy dough. This is the beginnings of your loaf, and don’t worry if it looks rough around the edges—that’s the rustic charm starting to develop.
Step 3: Knead to Perfection
Turn the dough out onto a floured surface and knead for about ten minutes. This part is super satisfying — you’ll work the dough until it’s smooth and elastic. Kneading develops the gluten, which gives the bread its chewy texture and helps it hold shape.
Step 4: First Rise
Coat a clean bowl with olive oil and place the dough inside, turning it so all sides get greased. Cover the bowl with a damp cloth and tuck it into a warm spot. In about an hour, it should double in size, looking soft and puffy—that means it’s ready for the next step.
Step 5: Shape the Loaf
Gently punch down the risen dough to release the air and shape it into a round ball. Don’t rush this; shaping the loaf carefully helps create that iconic rustic form. Place it on your baking stone or sheet for the final rest.
Step 6: Second Rise
Cover the shaped loaf with a cloth and let it rest for another 30 minutes. This brief second rise ensures your bread will be light and full of lovely holes inside, rather than dense.
Step 7: Score and Bake
Preheat your oven to a blazing 450°F (230°C). Right before baking, use a sharp knife to make a few shallow slashes across the top of the dough. This helps the bread expand beautifully and creates that signature rustic look. Pop it in the oven on your preheated stone or baking sheet.
Step 8: Bake to Golden Perfection
Let the bread bake for 30 to 35 minutes. You’ll know it’s done when the crust turns a stunning golden brown and the loaf sounds hollow when you tap the bottom. Resist slicing it immediately — allow the bread to cool slightly to let the crumb finish setting beautifully.
How to Serve Rustic Italian Crusty Bread Recipe
Garnishes
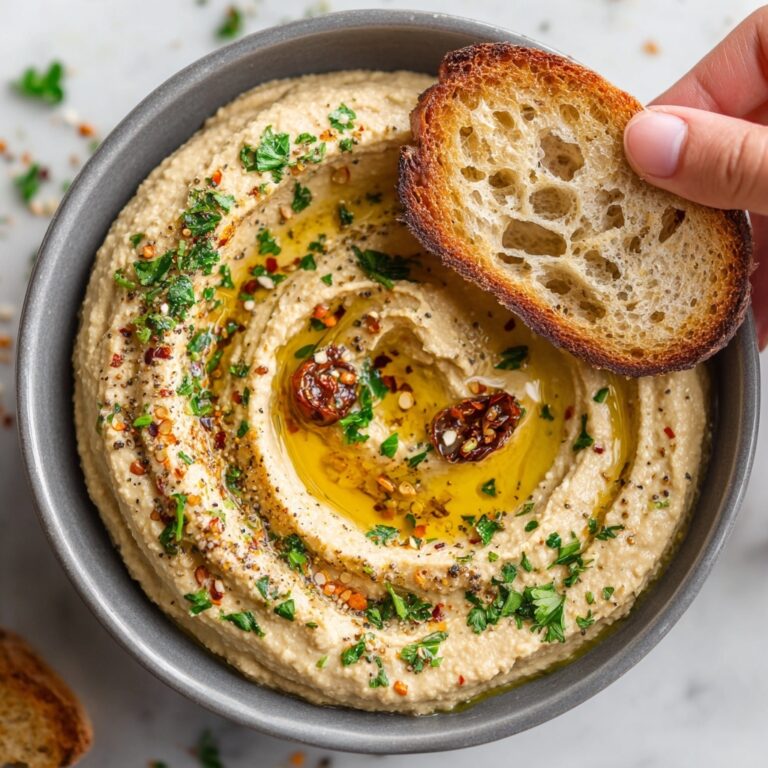
A loaf this flavorful doesn’t require much to shine, but a light brush of extra virgin olive oil or a sprinkle of flaky sea salt on top can take it to the next level. A smear of high-quality butter with a pinch of fresh herbs transforms each slice into a little celebration.
Side Dishes
This bread is a perfect companion to hearty Italian soups like minestrone or creamy tomato bisque. It also pairs beautifully with olive oil and balsamic dipping sauces or alongside a rich charcuterie platter. The crusty texture stands up well to dips and spreads, making it incredibly versatile at any meal.
Creative Ways to Present
For a rustic centerpiece, slice the bread thickly and arrange on a wooden board with bowls of olive oil, aged cheeses, and fresh sliced tomatoes. You can also hollow out the loaf to create a bread bowl, perfect for serving creamy dips or stews during a cozy gathering.
Make Ahead and Storage
Storing Leftovers
If you’re lucky enough to have leftovers, keep the bread in a paper bag at room temperature to maintain its crusty exterior without getting soggy. Avoid plastic bags, which trap moisture and soften the crust.
Freezing
This Rustic Italian Crusty Bread Recipe freezes beautifully. Slice the loaf and wrap well in foil or freezer bags. When you’re ready to enjoy, you can toast slices straight from the freezer or thaw overnight at room temperature.
Reheating
To refresh a loaf that’s lost some of its crunch, pop it in a preheated 350°F oven for about 10 minutes. This simple step revives the crisp crust and warms the soft, tender crumb inside, making every bite taste fresh again.
FAQs
Can I use bread flour instead of all-purpose flour?
Absolutely! Bread flour has a higher protein content which can give the bread a chewier texture and a taller rise, making it a great alternative if you prefer a denser, more elastic crumb.
What if I don’t have a baking stone?
No worries at all—use a heavy baking sheet instead. Preheat it in the oven to mimic the stone’s effect, which will help achieve that lovely crust on the bottom of your loaf.
How important is the water temperature for activating the yeast?
Water that’s too hot can kill the yeast, while cold water won’t activate it properly. Aim for warm, around 110°F (43°C), which creates the perfect environment for the yeast to bloom and start your dough rising.
Can I make this bread dough in a stand mixer?
Yes! Using a stand mixer with a dough hook can save time and effort during kneading. Mix on medium speed until the dough is smooth and elastic, about 7-8 minutes, then proceed with rising as usual.
Why does the bread need to rest twice before baking?
The first rise lets the yeast ferment and create air pockets for a fluffy crumb, while the second rest after shaping encourages better oven spring and a more open texture inside the loaf.
Final Thoughts
There’s something profoundly satisfying about making your own Rustic Italian Crusty Bread Recipe from scratch. The process connects you with a long tradition of artisanal baking and rewards you with a loaf that fills your home with warmth and irresistible aromas. Whether for a casual meal or a special occasion, this bread is sure to impress, nourish, and comfort. Give it a try and treat yourself to the joy of truly homemade bread!
Print
Rustic Italian Crusty Bread Recipe
- Prep Time: 15 minutes
- Cook Time: 35 minutes
- Total Time: 1 hour 50 minutes
- Yield: 12 servings
- Category: Bread
- Method: Baking
- Cuisine: Italian
- Diet: Vegetarian
Description
This Rustic Italian Crusty Bread recipe yields a classic, homemade loaf characterized by a crispy crust and chewy interior, perfect for sandwiches, dipping in olive oil, or serving alongside your favorite Italian dishes. Utilizing simple ingredients and a straightforward process, this bread is a rewarding baking project for bakers of all skill levels.
Ingredients
Dry Ingredients
- 4 cups all-purpose flour
- 1 ½ tsp active dry yeast
- 2 tsp sea salt
Wet Ingredients
- 1 ½ cups warm water (110°F / 43°C)
- 2 tbsp extra virgin olive oil
Instructions
- Activate the yeast: In a large mixing bowl, combine the warm water and active dry yeast. Let the mixture sit for about 5 minutes until it becomes frothy, indicating the yeast is active.
- Mix dry ingredients: Stir in the all-purpose flour and sea salt to the yeast mixture until a shaggy dough forms.
- Knead the dough: Transfer the dough onto a floured surface and knead for approximately 10 minutes until it becomes smooth and elastic, which helps develop gluten for structure.
- First rise: Lightly oil a large bowl and place the dough inside, turning to coat it with oil. Cover with a damp cloth and let it rise in a warm place for about 1 hour, or until the dough has doubled in size.
- Shape the loaf: Gently punch down the risen dough to release air, then shape it into a round loaf, preparing it for the final proof.
- Preheat the oven: Set your oven to 450°F (230°C) and allow it to fully preheat, using a baking stone or sheet if available for best crust development.
- Final proof: Let the shaped loaf rest uncovered under a cloth for 30 minutes. This resting time allows the dough to slightly rise again and relax.
- Score the loaf: Using a sharp knife, make slashes on the top surface of the loaf. This helps control the expansion of the bread during baking and adds a rustic look.
- Bake: Place the loaf on the preheated baking stone or sheet and bake for 30-35 minutes until the crust turns golden brown and the bread sounds hollow when tapped at the bottom.
- Cool: Remove the bread from the oven and let it cool on a rack completely before slicing to finish the baking process and improve texture.
Notes
- Use warm water at approximately 110°F (43°C) to properly activate the yeast without killing it.
- Kneading time is crucial to develop gluten and ensure the bread has structure and chewiness.
- Allowing the dough to rise in a warm place speeds fermentation but avoid excessively hot spots that can kill the yeast.
- Using a baking stone helps achieve a crispier crust by evenly distributing heat.
- Cooling the bread completely before slicing prevents it from becoming gummy inside.


